active dry. fresh cake. starter.
I’m doing another experiment! Yay science! Yay yeast! I told you I love bread. I meant it, I really did.
So for this experiment I am using a very simple bread recipe so that it will be easier to see the difference in each rise. It’s the same recipe I used to make a rosemary loaf last week. Easy peasy, you mix all the ingredients together, leave it to rise for 12-ish hours, shape it, proof again for an hour and bake. One bowl, one loaf pan, and one knife to cut into it at the end. Oh, and one cutting board I guess. I make a couple changes to the process, but nothing too serious. And I use my hands to mix everything. Before you get offended by that, OF COURSE I WASHED MY HANDS. But you’d never know the difference. *maniacal laughter*
The recipe I’m using I “borrowed” from the website/food blog of http://www.cafesucrefarine.com. It’s their Ridiculously Easy Rosemary Bread. And it is truly ridiculously easy, if you want to make bread for yourself. I absolutely will be adding rosemary to the first loaf, yuuuum. But I’ll omit it for the other two because it doesn’t make a difference in the science of the bread formula. Plus I’ve been missing my mom and the cinnamon sugar toast she made for me growing up, so one loaf needs to be plain.
As for the yeast… All yeast is different for two (probably more, I’m not wanting to deep deep dive just yet) reasons. They are made and produced differently and therefore activate differently. And they have different varied amounts of the live yeasts actually present, so this affects the amount of each that we use. This also affects the rise time of the dough itself. So, for some you may need to allow for more time to rise, and others you might need to keep your eye on it so you don’t over proof it. Active dry is the original yeast in the recipe and is the yeast we will put in the first dough. It requires being bloomed in warm water before being added to flour. Fresh yeast, or cake yeast, comes in this very small block that almost looks like a light tan bouillon cube. I got to use it everyday when I worked at Princi and it was a great way to get familiar with fresh yeast. It smells like good stinky cheese which will be nice to see how that affects the flavor of the bread. And my bitch starter is very bubbly and active. I’ll be feeding it and its scrap about three hours before I make the dough. Now I must look for my lab coat.
April 6th 7:30pm
The first and original recipe calls for 7g of active dry yeast. And I’ll be blooming that while I weigh out everything else.
So in a bowl goes the flour, salt and (for this round) rosemary. Then in goes the bloomed yeast and water and we mix mix mix until the dough is a uniform, sticky, wet mess. And we say goodnight.

April 7th 6:45 am
And then we say good morning dough!
Get outta here.
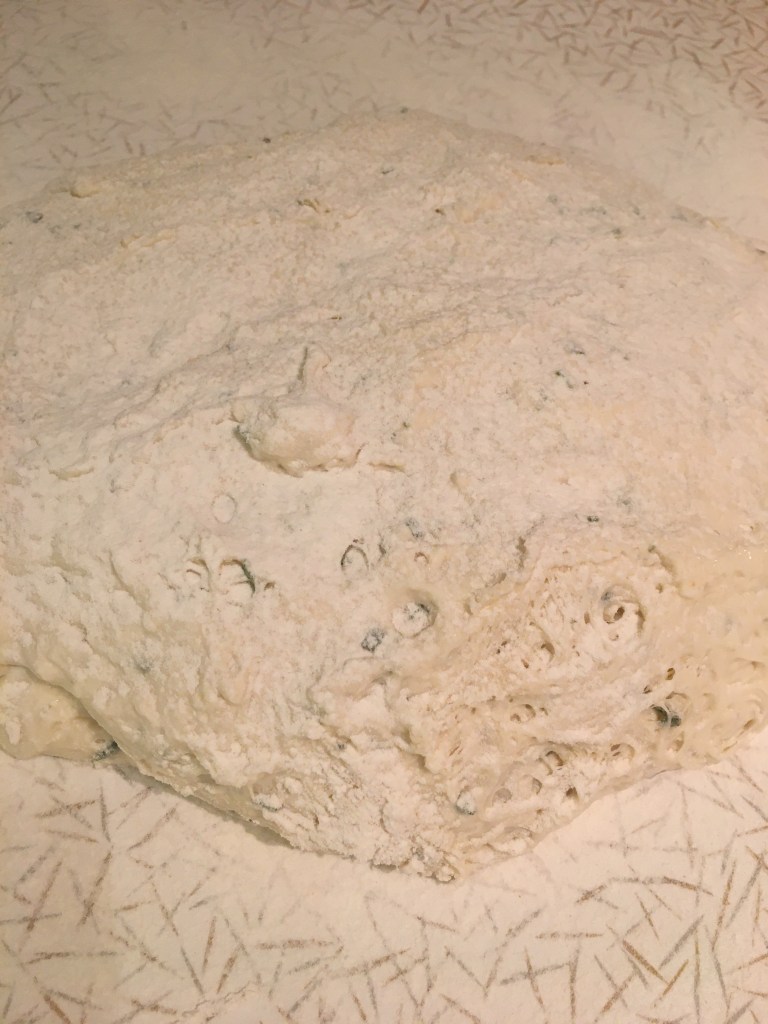
I keep a tea strainer in a bowl with flour in the corner of my kitchen, and that is so I can efficiently flour my counters for bread, without having to throw it in the air like I would at work. And I dump my dough out on to the floured counter and flatten like-a so.
Originally the recipe says to knead this dough for a bit before shaping it into a round boule and letting it rise again. I’m not doing that, simply because it is a very similar dough to the ones I make at work, and it really doesn’t knead that extra attention. So I’ll show you what we do to shape our bread dough for a loaf pan instead. All the dough gets scraped out of the bowl and gets its own dusting of flour right on top.
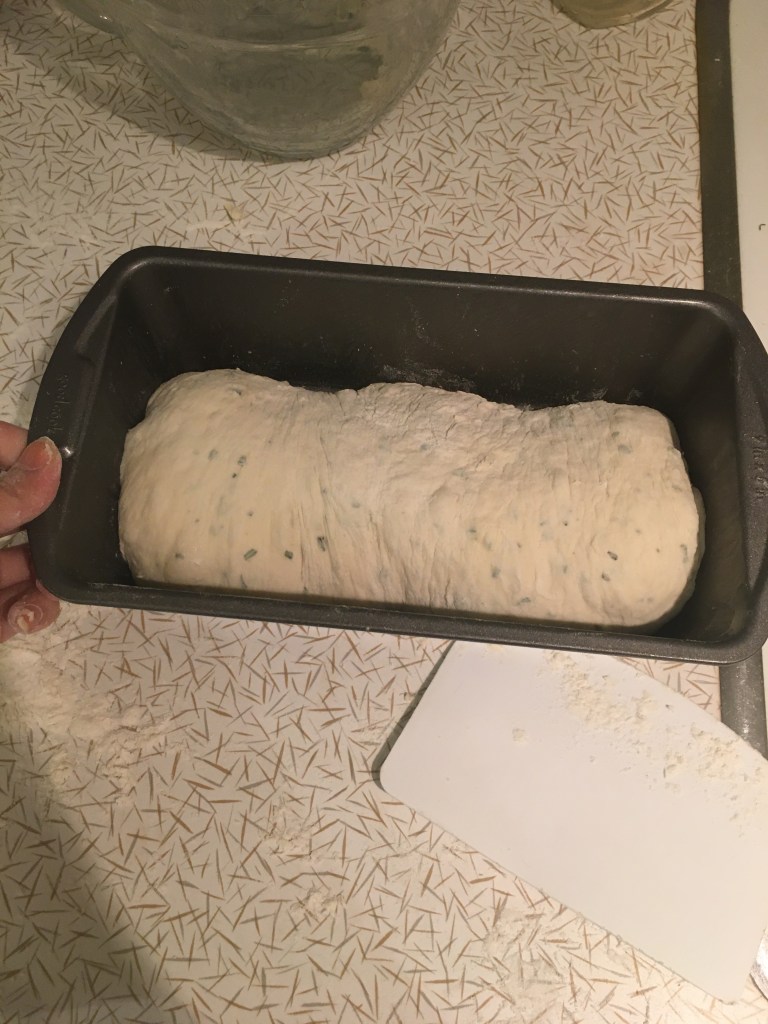
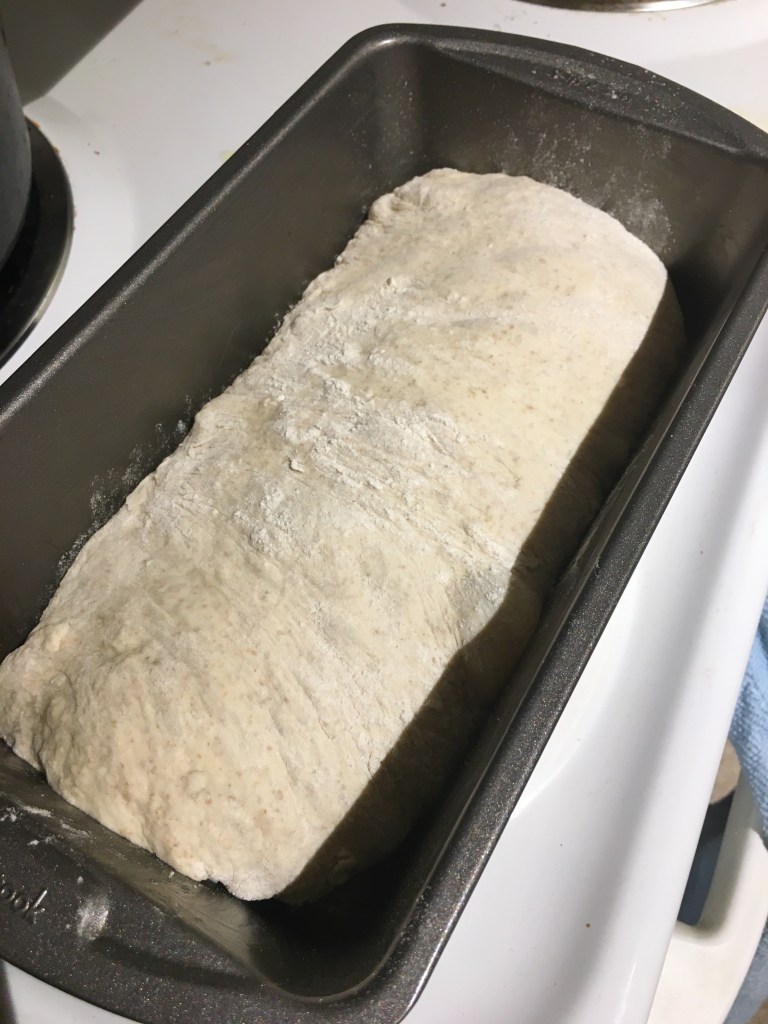
Then I kinda stretch out four corners, flattening the dough a bit, and making the base a little wider than the top (trapeze for you geometry nerds). Then starting from the top I just start to give it a tuck onto itself and roll it down towards the base, tucking with my fingers and tugging the ends in as I go. Basically manipulating and rolling the shape to the size of the loaf pan.

And I plop that little loaf baby right in the pan, and it’ll rise for about an hour. Now I’ll make myself tea and listen to a podcast.

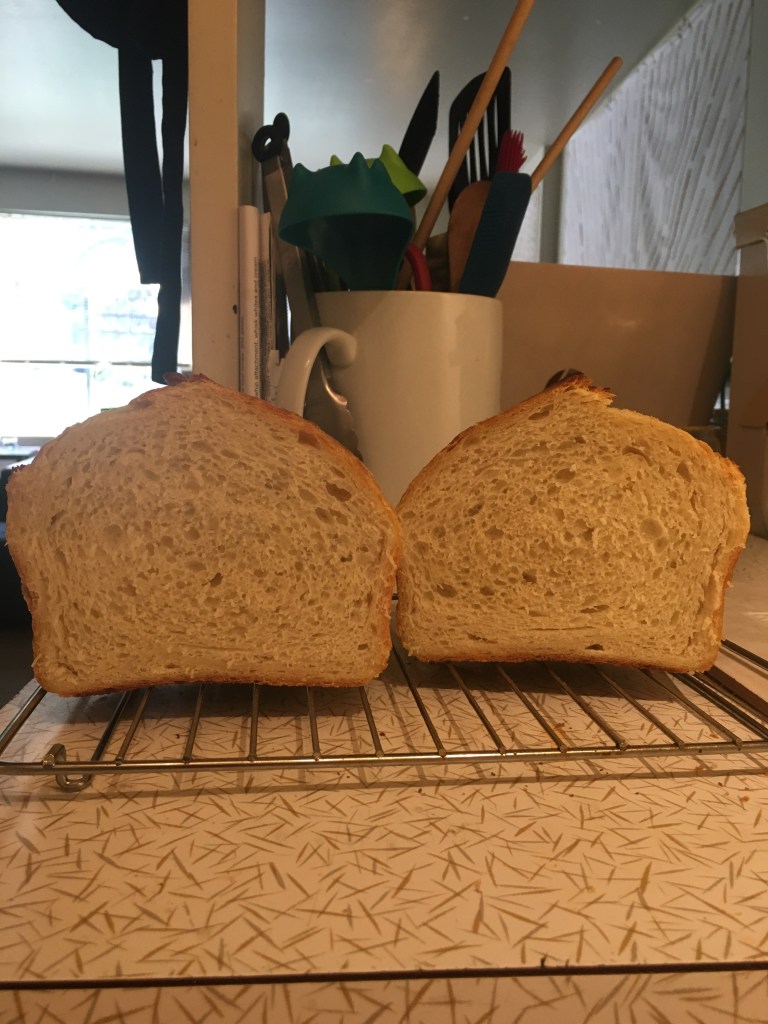
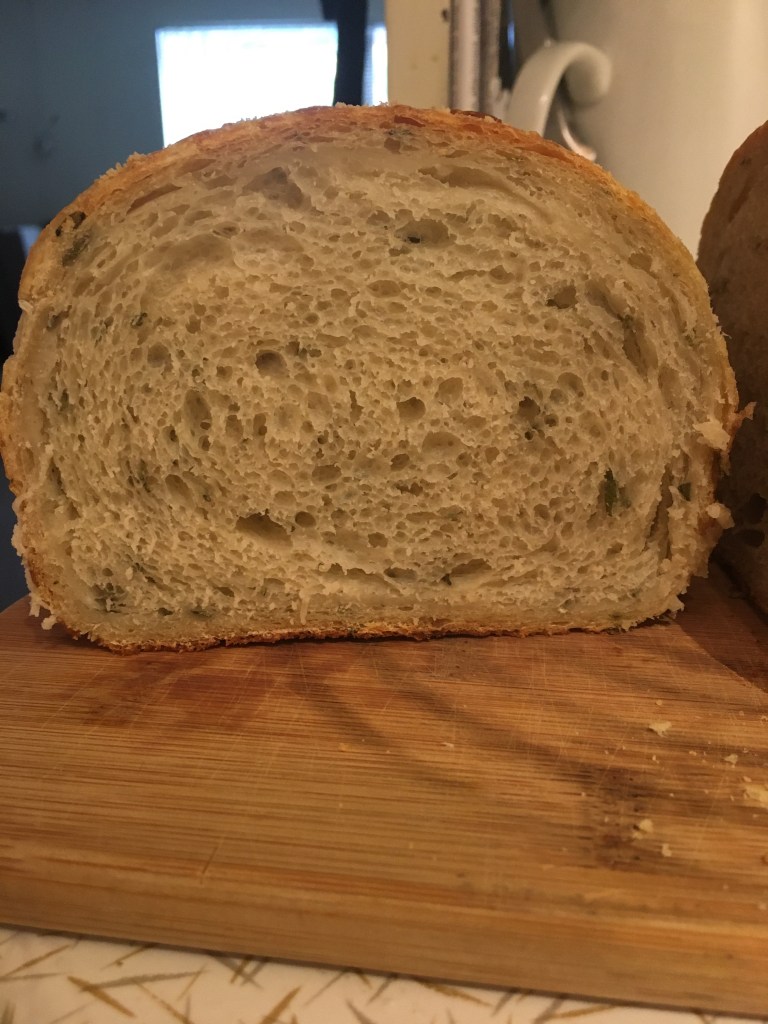
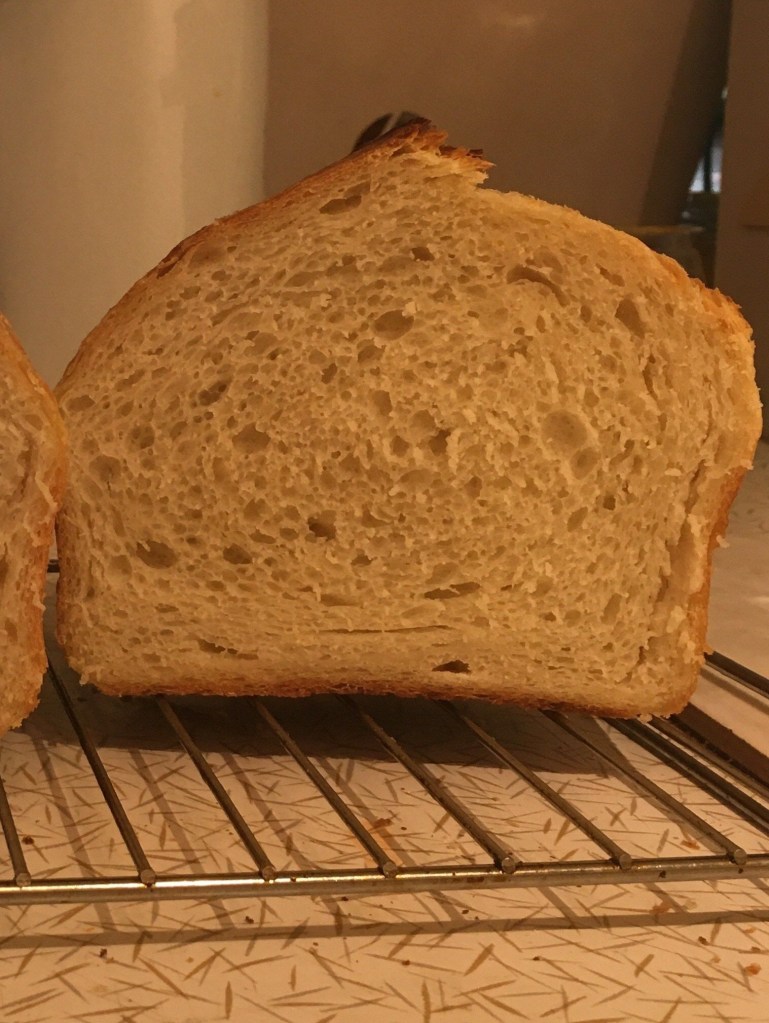
Oven at 425 degrees Fahrenheit, I brushed this loaf baby with some buttah and she went in the oven for about 45 min. And later when she cooled, we cut her in half:

So this is the original recipe and the control loaf for my experiment. Look how professional I am, Papa!
April 7th 8:00 pm
Back for the second round. So in the bottom of my bowl I weigh out my fresh yeast.

I’m using the conversion chart from a website I found that lets you find any yeast conversion for active dry, fresh, instant or brewers yeast (I dunno what that is[yet]). It’s really cool, check it out if you’re in a pinch: https://www.traditionaloven.com/conversions_of_measures/yeast_converter.html
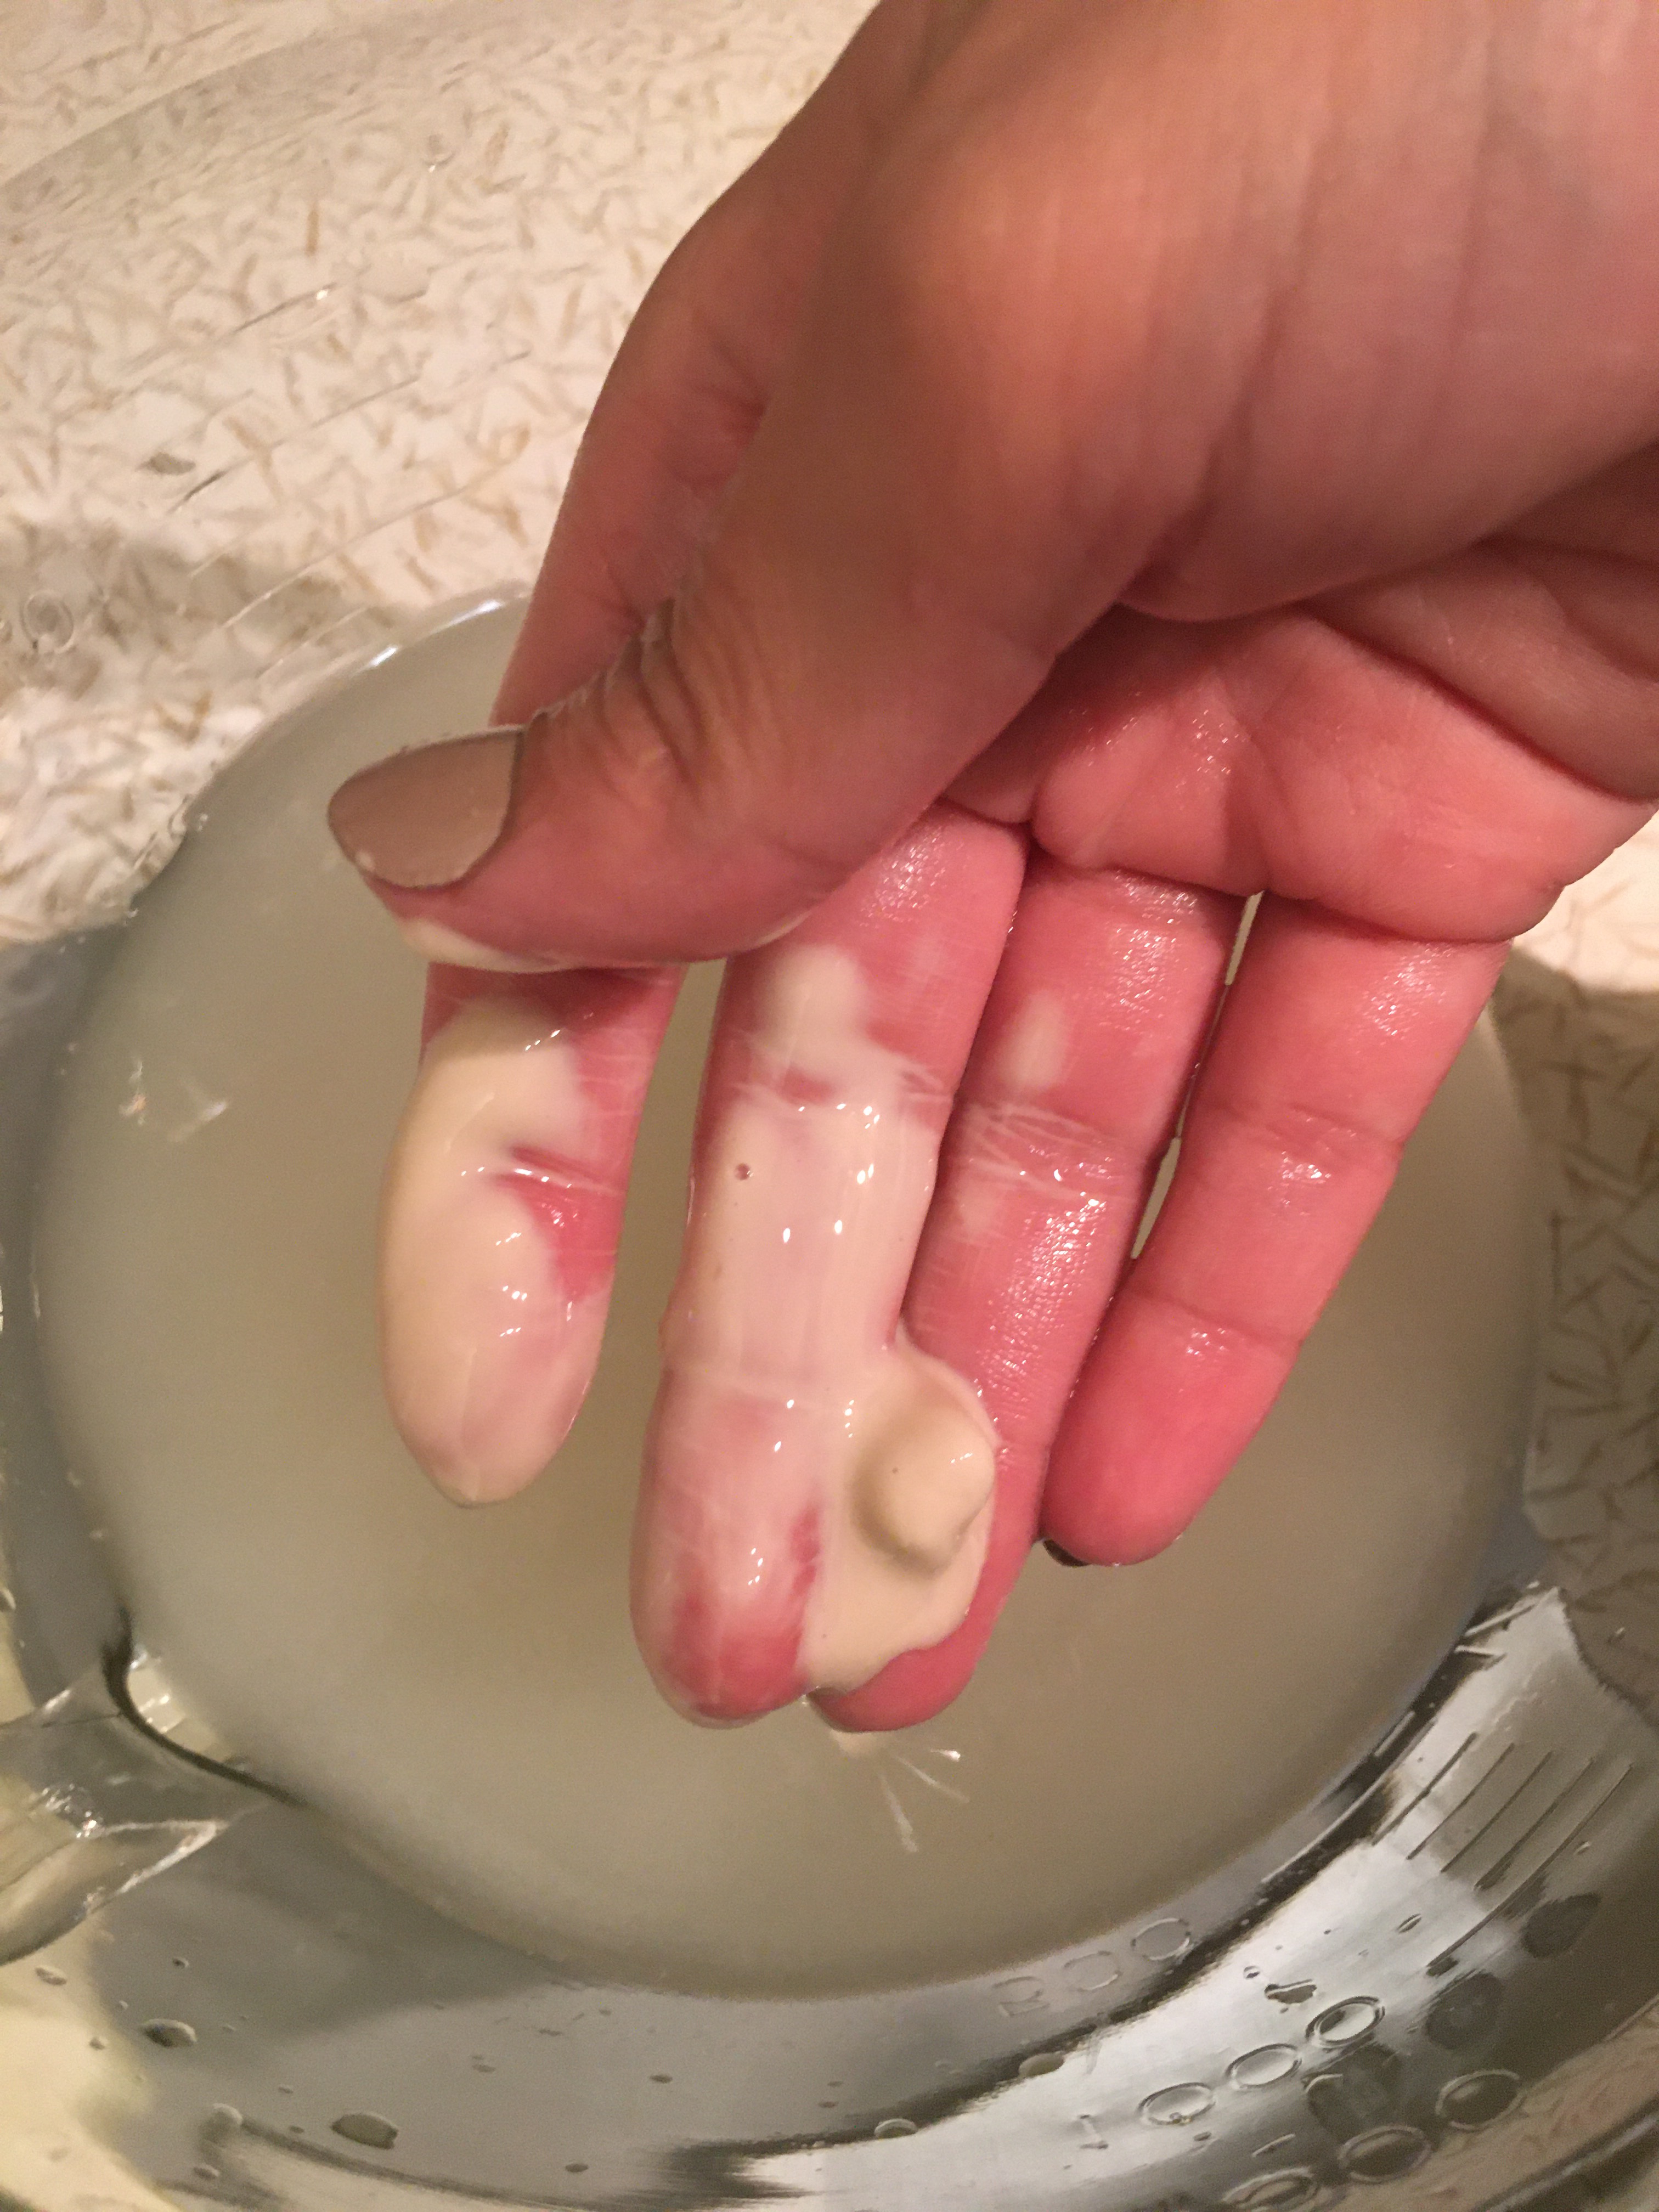
12 grams of fresh yeast gets topped with the warm water, and I just used my fingers to dissolve it. It’s rather smooth and slimy once it gets wet (that’s what she said) but dissolves real fast. The flour and salt go on top and mix mix mix again. Goodnight dough.

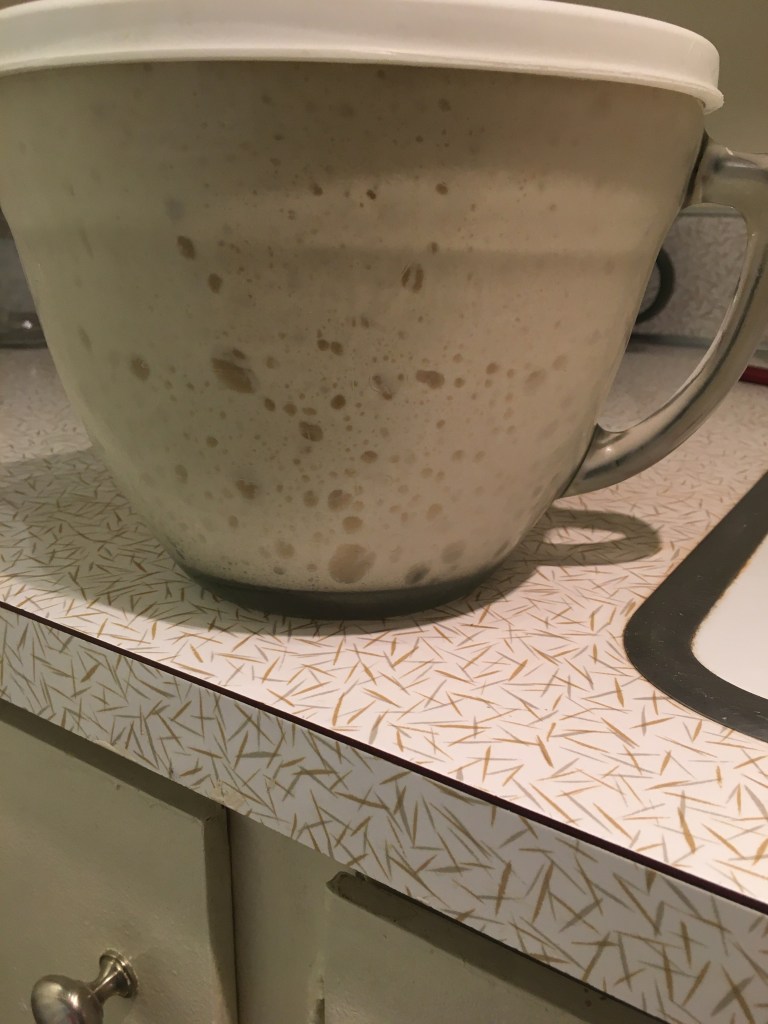
10:00 pm Or not.
This bitch doubled in two hours. My kitchen is not that warm right now. I punch her down and knock the air out of her, and stick her in my fridge so she’ll slow her roll. I said goodnight!
April 8th 7:00 AM
And good morning to you. She doubled back up in the bowl, but isn’t showing signs of backing down or farting away her size. Not too worried about over proofing. So again with the same method. Floured counter, dump dough, stretch into trapeze, roll and tuck and into the buttered loaf tin for 20 min, while the oven heats up. Tea and news for me.
In the oven for again about 45 min and here’s our final product.
As you can see, a very similar crumb to the active dry, but this loaf split a little along the edge, so it probably could’ve done with a score across the top. I think that is a result of how active this yeast really is. Perhaps I should’ve had 11 grams instead of 12. Amazing what a difference that could make. The flavor is good too, there’s a slightly more umami note coming from that fresh yeast. Smells like restaurant bread.
5:00 pm
I feed the starter and the scrap as well.
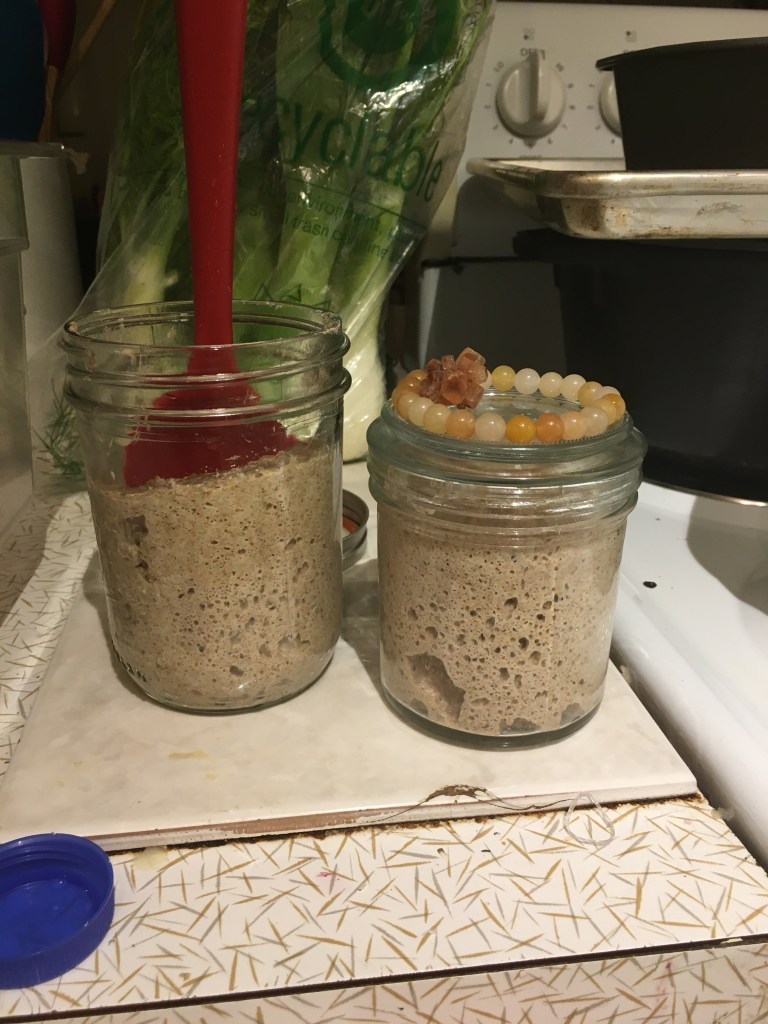
The big one is for the dough.
8:45 pm
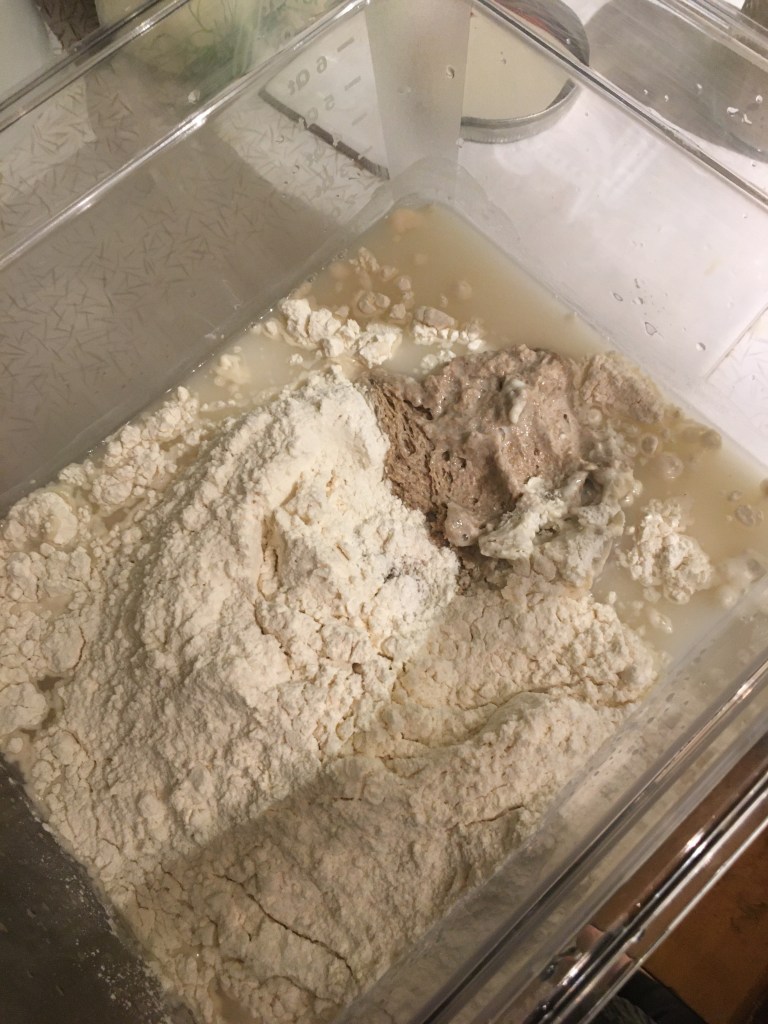
I scoop about a cups worth of starter into the bottom of my bin and pour my warm water over the top of the bitch. Then the flour and salt go over the top and mix mix mix with my hands. Getting it allllll up in my (clean)nails. And we say goodnight.

10:45 pm
I poke my head out just to make sure she doesn’t blow her head like last night. But all is well. I sleep.
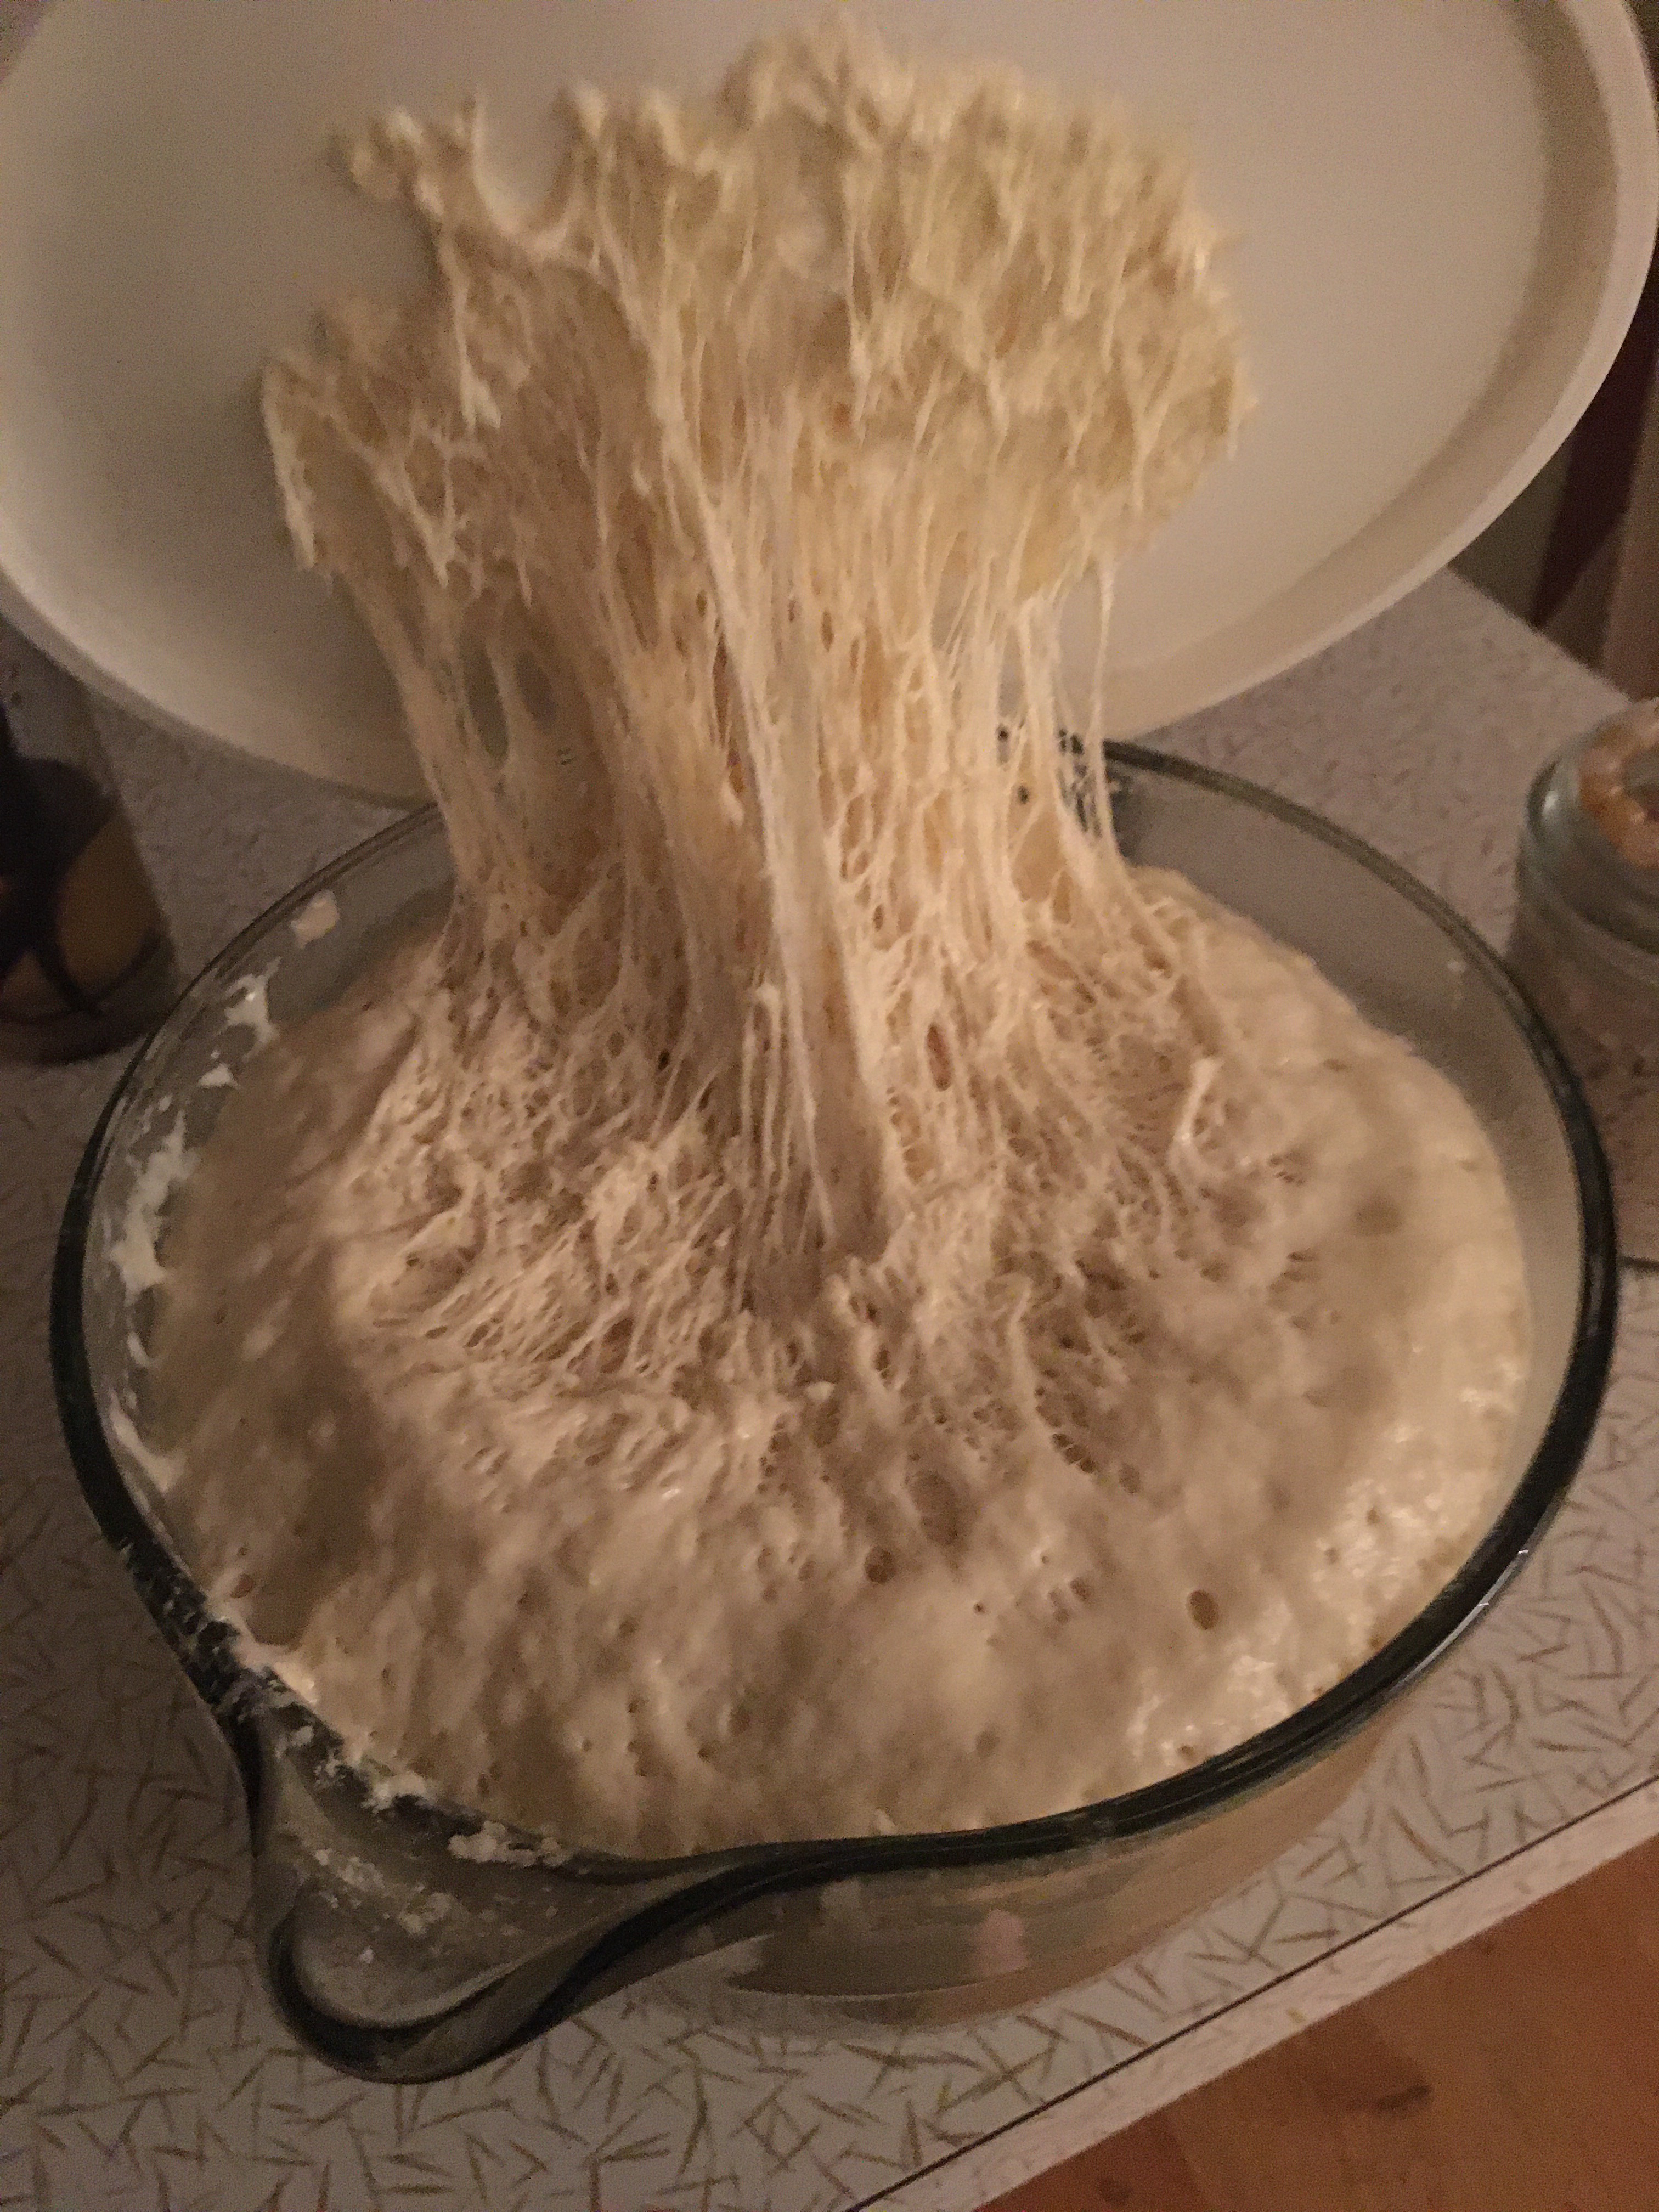
April 9th 7:00 am
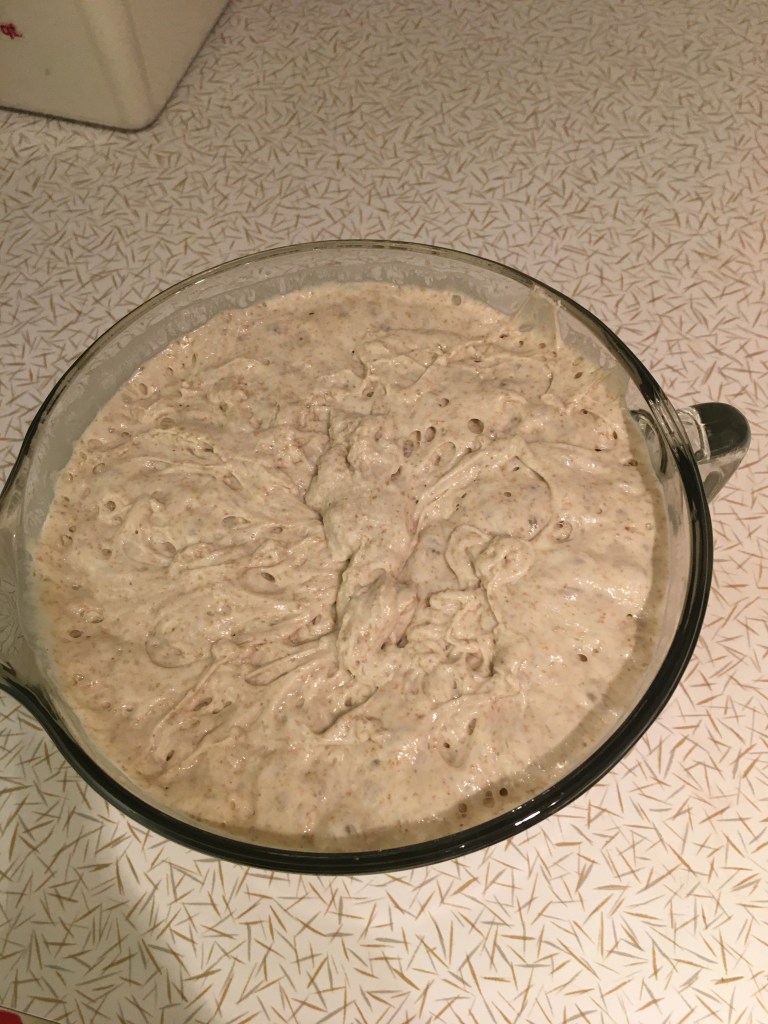
This is a good sign for the strength of my starter. Very happy with what I’m seeing. SPONGEY. Turn her out onto the counter and ship-shape her right up and into the loaf pan to rise 20 min.
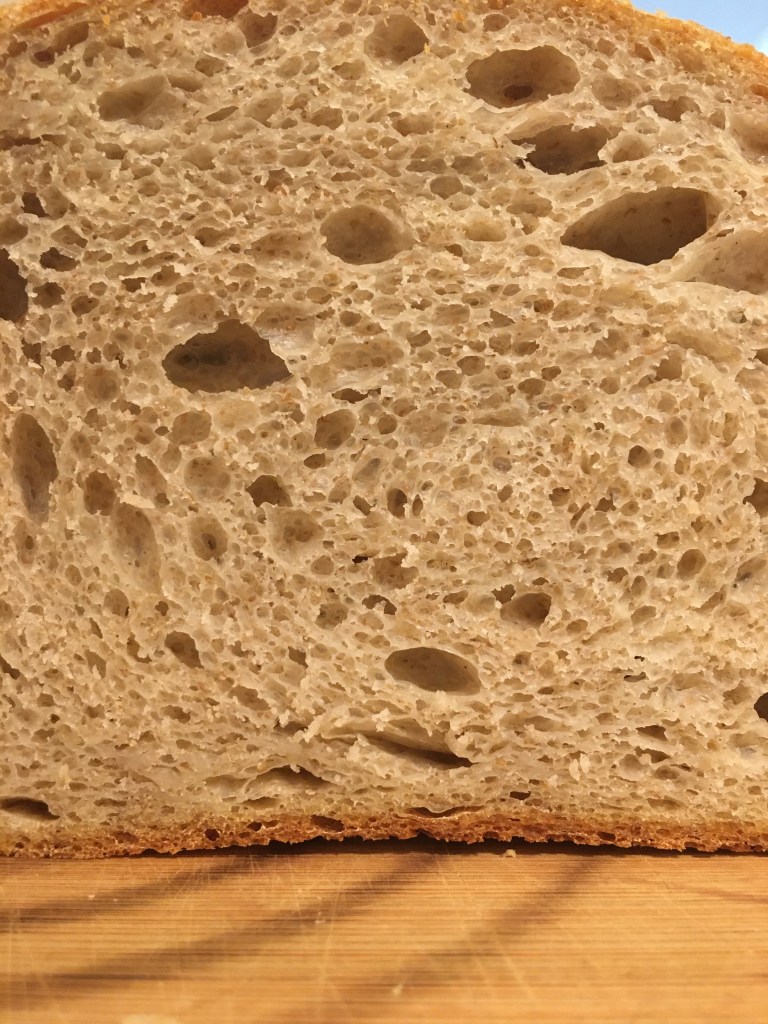
She bakes for 45 and final product:

She also split along the side. *wiping a tear of pride away* My bitch is so strong.
The inside was my favorite part. You can definitely see a difference in the crumb here. Plus, because my bitch starter has rye and whole wheat, it’s a little sweeter tasting than the other two. Perfect for cinnamon toast 🙂
And that’s that! You can make a loaf of bread for yourself with any yeast if you experiment and give the dough and yourself some faith!
